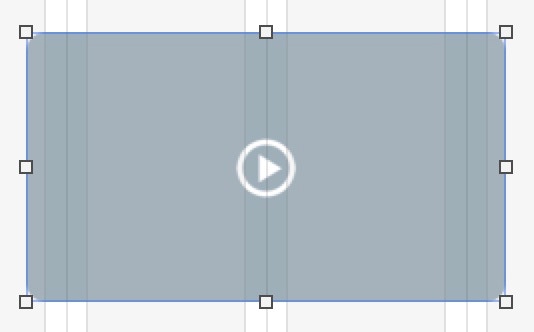
Adding video to your web page is very straight forward with all the heavy lifting taken care of by the Video Object. Just add the object to the canvas, or drag an MP4/mov video file directly onto the canvas. When the object is placed, it will look like this - this is the video placeholder.
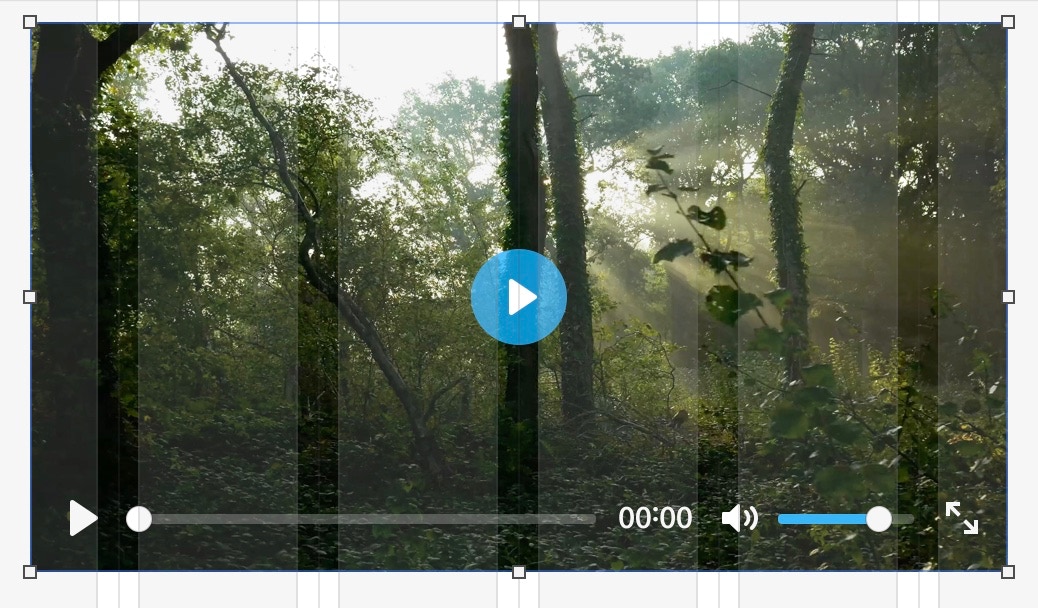
If you dragged a video onto the canvas, it will look like a video player, complete with its poster image. All you have to do at that point is style the player interface and position/size it to suit your web page.
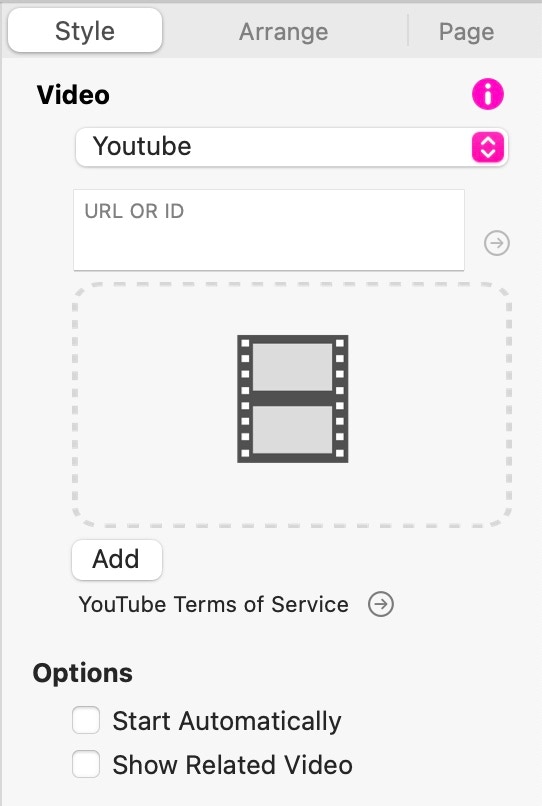
With the placeholder option, you will have to add a source file to the placeholder to make it appear like a video player. You do this from Sparkle’s familiar style panel.
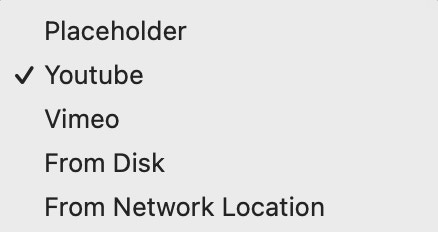
You have a choice of video sources to choose from. These are all presented through the drop-down options in the style panel. The Youtube and Vimeo options allow you to embed video from those popular streaming platforms. All you need to do is enter the URL or ID of the video you want to display. If you choose the ‘From Disk’ option, you will be able to choose a video file from your disk drive. Selecting the ‘From Network Location’ option will allow you to enter the URL of a video file hosted on a third party server.
You next need to decide where you would like to store your video file. With the streaming options, you don’t have to make this choice - the video will remain on the server and stream to your web page. However, if you are adding a video from your Local Disk, you have the option of leaving the video in it’s current location on your disk drive, or embedding it into the Sparkle project file. You may want to embed it into the project if you intend to continue working on your web page on a different computer at some future time, or if there is a possibility of your video file being moved to a different disk location. Embedding will ensure that the file is always accessible to the project, but will add some weight to your Sparkle project file.
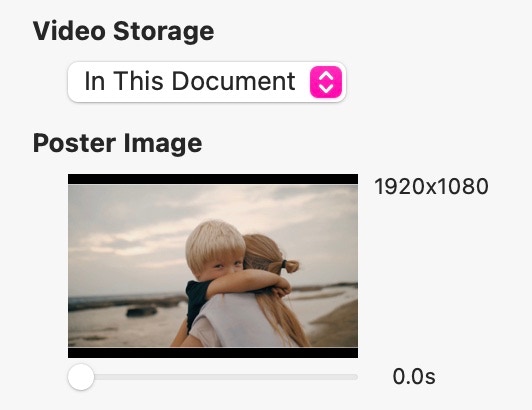
The Poster Image option allows you to select a scene from your video to act as your poster image. If you prefer to use a totally customised image, you have the option of adding one further down the style panel.
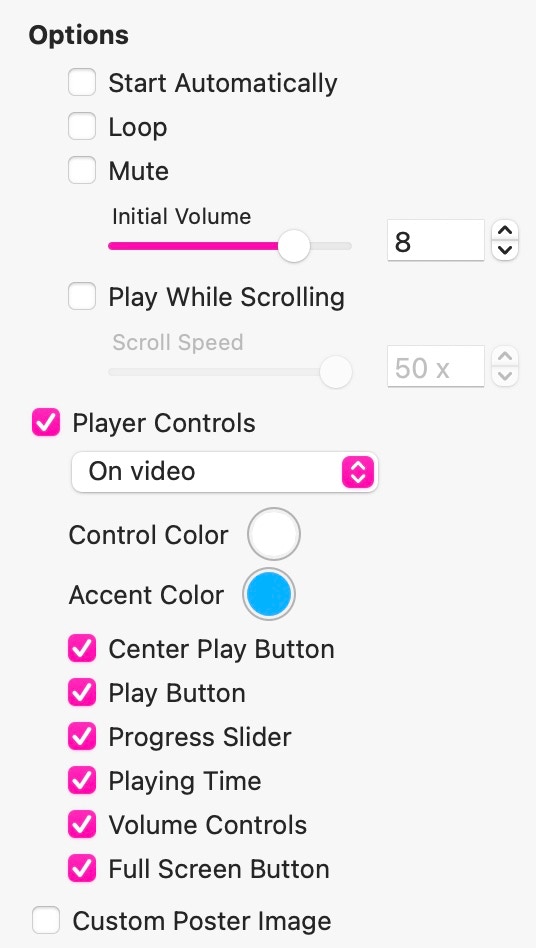
The Options section of the style panel is where you decide how your video plays and how the player should look to your site visitors.
The ‘Start Automatically’ option will start your video playing as soon as it’s loaded into the page. However, if you set this option, please be aware that the video will play without audio (it will be automatically muted). The Loop option will loop the video so that it never stops playing - when it reaches the end, it will resume playing again from the start. The ‘Play While Scrolling’ option will play the video as the page is scrolled by the user - this is a sort of video ‘scrubber’ option that advances the video as the page is scrolled.
Selecting the ‘Player Controls’ checkbox gives you maximum flexibility on how you style your video player. The ‘On Video’ option creates a familiar video player with all the controls clearly visible within the player interface. You can select which elements of the control interface are visible to users, as well as select an accent colour to use. The other option you have is to use the ‘Browser Built-In’ option. This leaves the user’s browser to style the video interface. This section is also where you can add a custom poster image if you wish to use one.
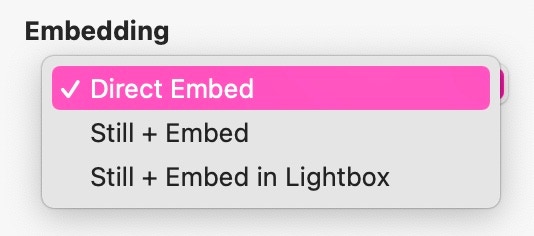
Next up is where you decide how you want to embed your video. The options are:
Direct Embed: this embeds the video at its current size directly into the web page. The video can be be played on the page by simply activating the video controls.
Still + Embed: this creates a still image on the page, with the video only being loaded and activated upon mouse click. This can improve initial page load time, but the video start may be delayed.
Still + Embed in Lightbox: This is similar to Still + Embed, except that the video player will open in a lightbox when the still image is clicked.
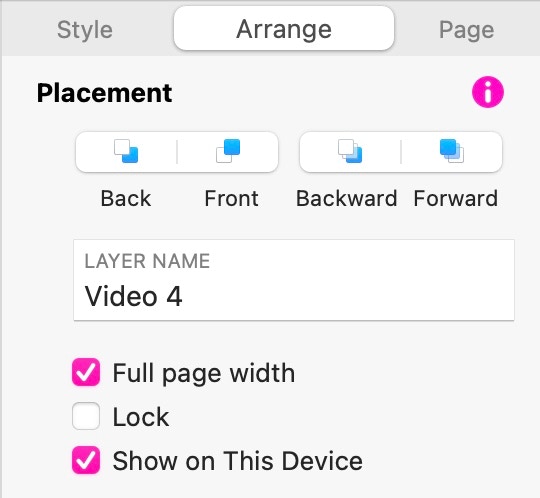
Arrange Options
Over in the Arrange tab on the right of the interface there is another option that allow you to use video in a more creative way. For example, you can set a video to be Full Page Width. This option essentially makes the video span the full width of a browser window. This is a great option for creating video headers and hero sections for your pages.
This is how a full width header video looks on the page. Essentially, the video takes on the look of a background element to a wide box. When used in this way, the video will not have any controls - it’s designed to play automatically and loop, as such, it will be muted if it contains a soundtrack. The video itself will span the full width of the browser, whilst its height will be dictated by how you size the box on the canvas. The video will never distort - instead, it will be clipped top and bottom to display only the visible portion of the box.
Setting a Video as a Page Background
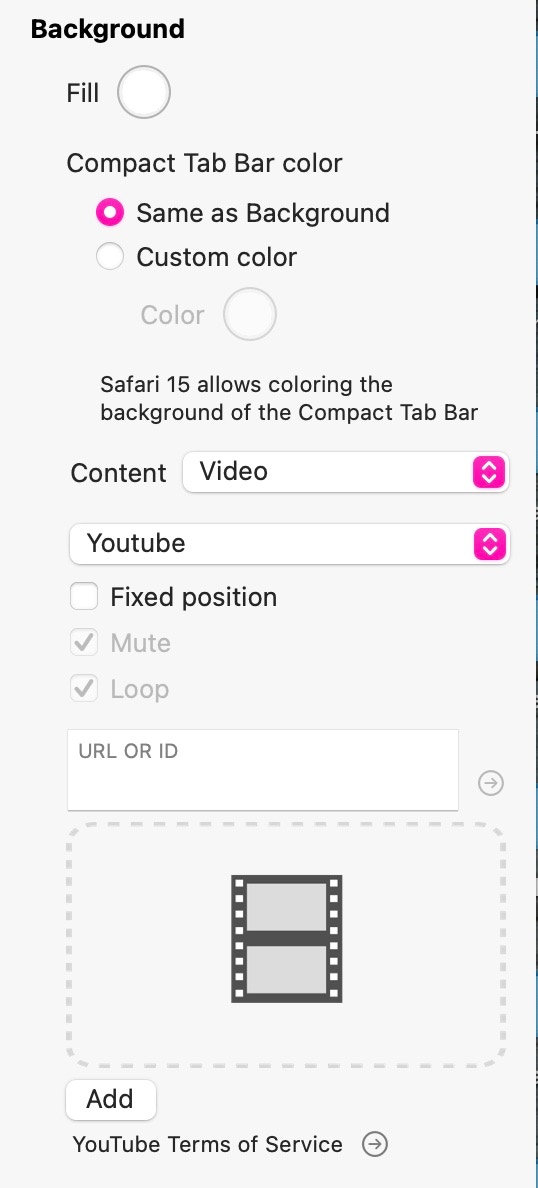
In some situations, you may wish to add a video as a background element to a whole page. Sparkle achieves this via the Page tab on the right of the interface. Just scroll down to the background section of the Page tab and chooses video as the background content - you’ll have the same options for choosing a source video file.
Understanding how the background option displays video.
When you add a video as a background element, it places the video on the page at full browser width - Its height is set in proportion to the video aspect ratio. So, the actual size of the video on the page will vary based on the width of the visitor’s browser window. As the page scrolls, the video will scroll also, just like other page elements.
If you want your video to remain in place at full browser hight and width, check the Fixed position option. This will cover the available browser window with the video content and fix it in position. The page content will move over the video as the page is scrolled.
Things to remember about Background video.
Keep file sizes small - choose videos that are suitable for looping and strip out any audio tracks. Ideally, background videos should be less than 10mb in size.
It may not be advisable to use streaming services to deliver background content - particularly if the service is prone to delivering advertising along with your video. For most background video, it’s better to host your own video on your own server - use the ‘From Disk’ or ‘Network Location’. options.
Creating Animated Elements with Video Clips
At times, there may be a need to incorporate small animated elements into a website, especially when Sparkle's existing array of animation options doesn’t meet the need. This is particularly true for elements like compact animated ads or impactful headings, commonly found across the internet and social media. While Sparkle isn't designed as a video editing application, it does offers a versatile video element that seamlessly integrates video into web pages.
Unlike some other web builders, Sparkle provides freedom from standard video aspect ratios when embedding a player into your web page. The video element adjusts effortlessly to the aspect ratio of the video it contains. Therefore, if you can create video elements, Sparkle excels in handling them.
Consider the following example: imagine a heading with a dynamically changing word in the middle. To achieve this effect, we employed a video editing application, such as the free and highly recommended CapCut. Essentially, we set up a canvas spacious enough to accommodate the intended text size for our headline. After adding and styling the text, along with animated transitions, we generated a small MP4 video. This video was then compressed using Handbrake to optimize it for the web.
In Sparkle, we constructed the headline using standard text and seamlessly integrated the small video. The final result is visually engaging and dynamic.
We Create Great
Websites with Sparkle
By combining standard Sparkle elements such as text, boxes icons and video, you can easily add some extra movement to your page, Here is another example.
Check
This
Out
And what about those story videos you see on Instagram etc? They can also be added to your web page to create a more engaging experience for your site visitors
In all of the above examples. the videos have no soundtrack, so they were set to autoplay and loop. If you intend to use video clips in this way, here are some general rules. Keep file sizes small. Use the ‘From Disk’ option - clearly these types of clips are not best suited for delivery via video-sharing sites. They can, of course, be set to deliver from a network location if you have your videos hosted on your web server. Finally, don’t go overboard with this technique - overkill can annoy your site visitors, so be sure to have a purpose for adding this extra layer of animation.
Quick Video Tutorial
Please report any shortcoming in this documentation and we’ll fix it as soon as possible!
Updated for Sparkle 5.5
This website makes use of cookies.
Please see our privacy policy for details.
It’s Okay
Deny